Home » Blog » How to Build a DIY Insulated Dog House
How to Build a DIY Insulated Dog House
SPH
2025.02.20
192
A Step-by-Step Guide
H
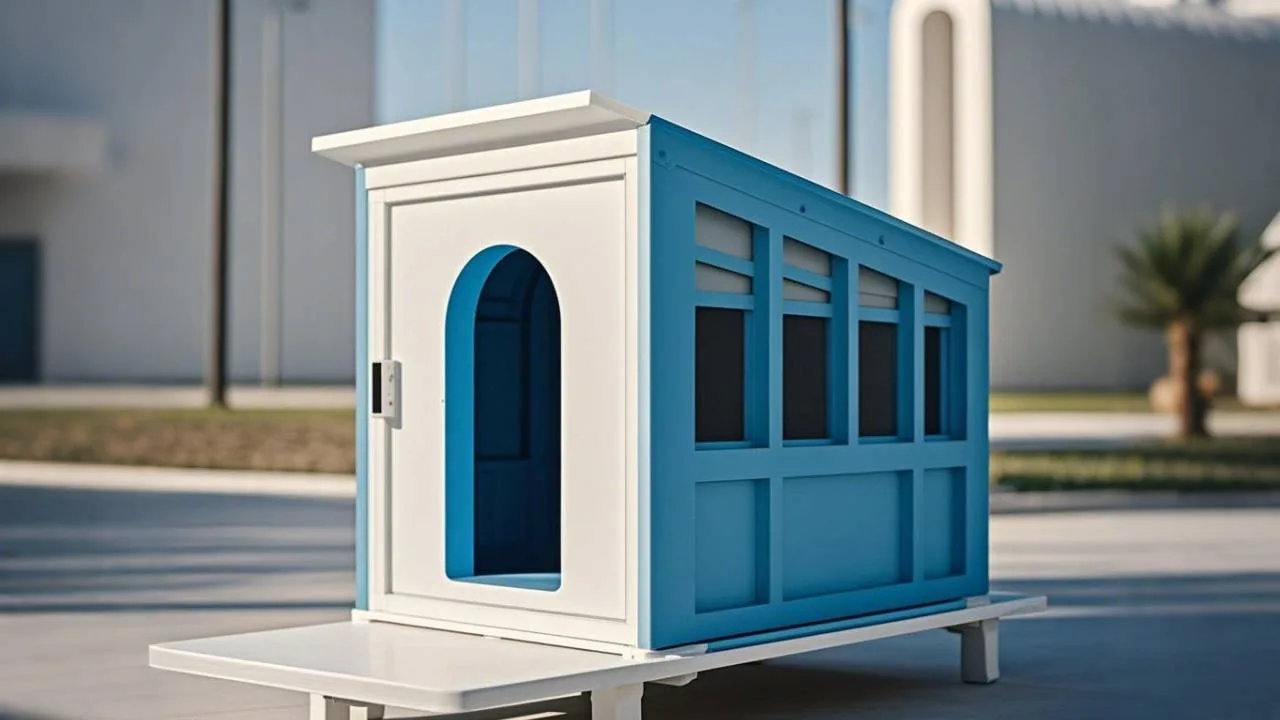
As the cold season sets in, it’s essential to ensure that our dogs have a warm and comfortable resting place. While dogs are known for their resilience, they still need a cozy spot that feels like home. If you’re looking for a way to provide your furry companion with a safer and more comfortable resting place, building a DIY-insulated dog house is an excellent solution. Not only will it provide your dog with the ideal environment, but it can also be constructed using affordable and easy-to-find materials. This guide will take you step-by-step through assembling an insulated dog shelter and making it warm and welcoming for your furry friends.
Making an Outdoor Insulated Dog House: Overview
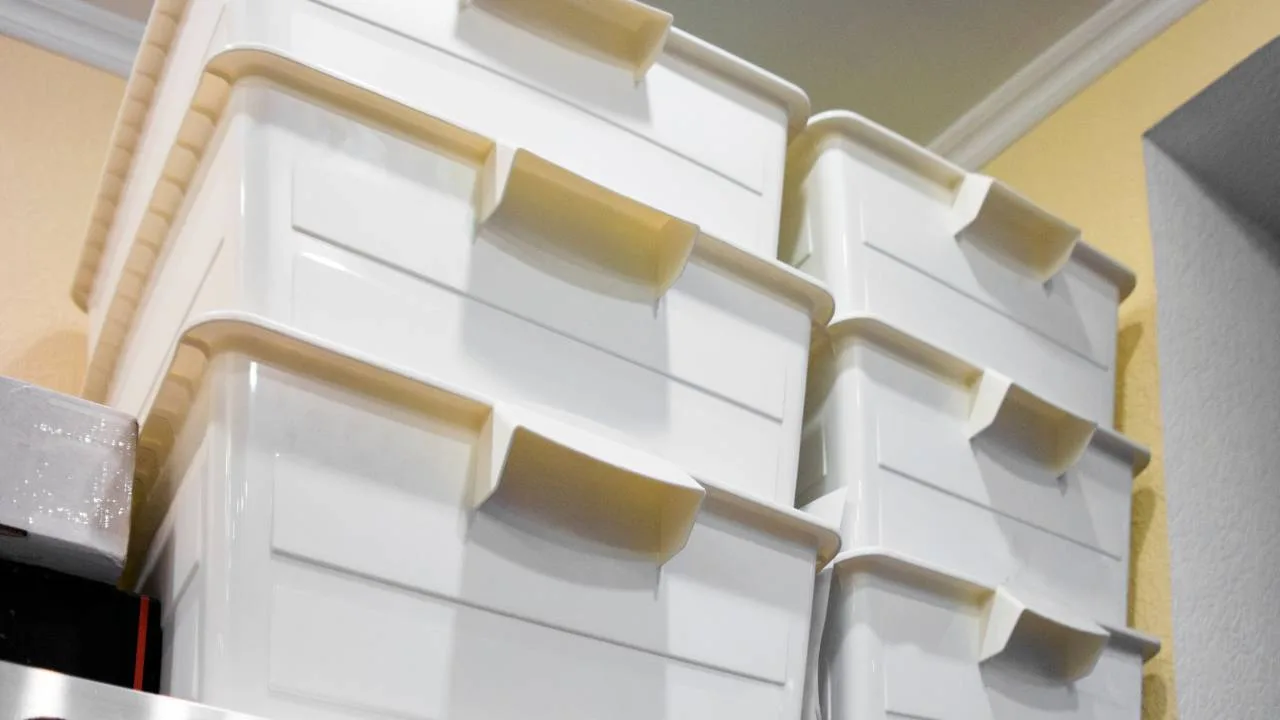
Choose two plastic storage containers.
Mark a 30 cm square entrance on the side of both containers.
Install styrofoam insulation.
Add aluminum alloy for extra insulation.
On the surface of the aluminum alloy, add a thick layer of straw or leather bedding.
Secure the lid and add protection.
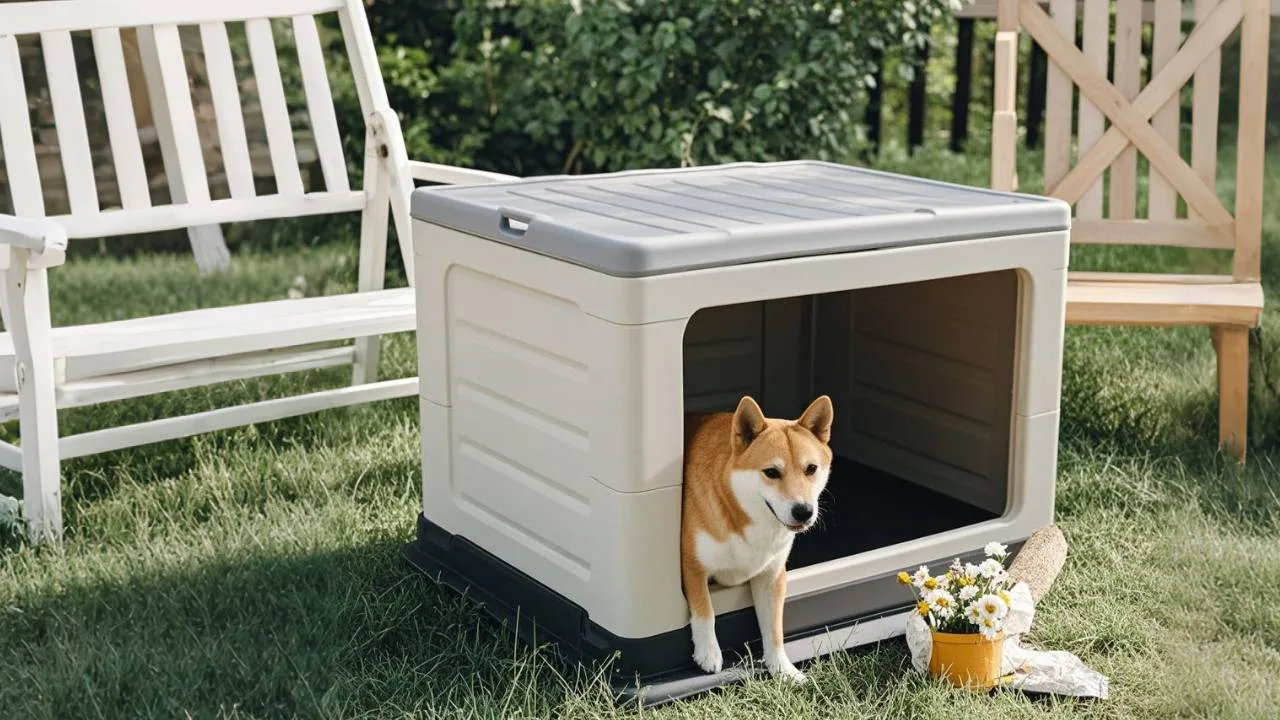
1. Select the Containers
One should be large enough for your dog to lie down comfortably in, and the second should be slightly smaller to fit inside the first. The larger container will be the outer shell, and the smaller container will serve as the inner structure, offering extra insulation. You can find containers with a capacity of around 13-21 gallons (50-80 L) for the larger container and 8-13 gallons (30-50 L) for the smaller one.
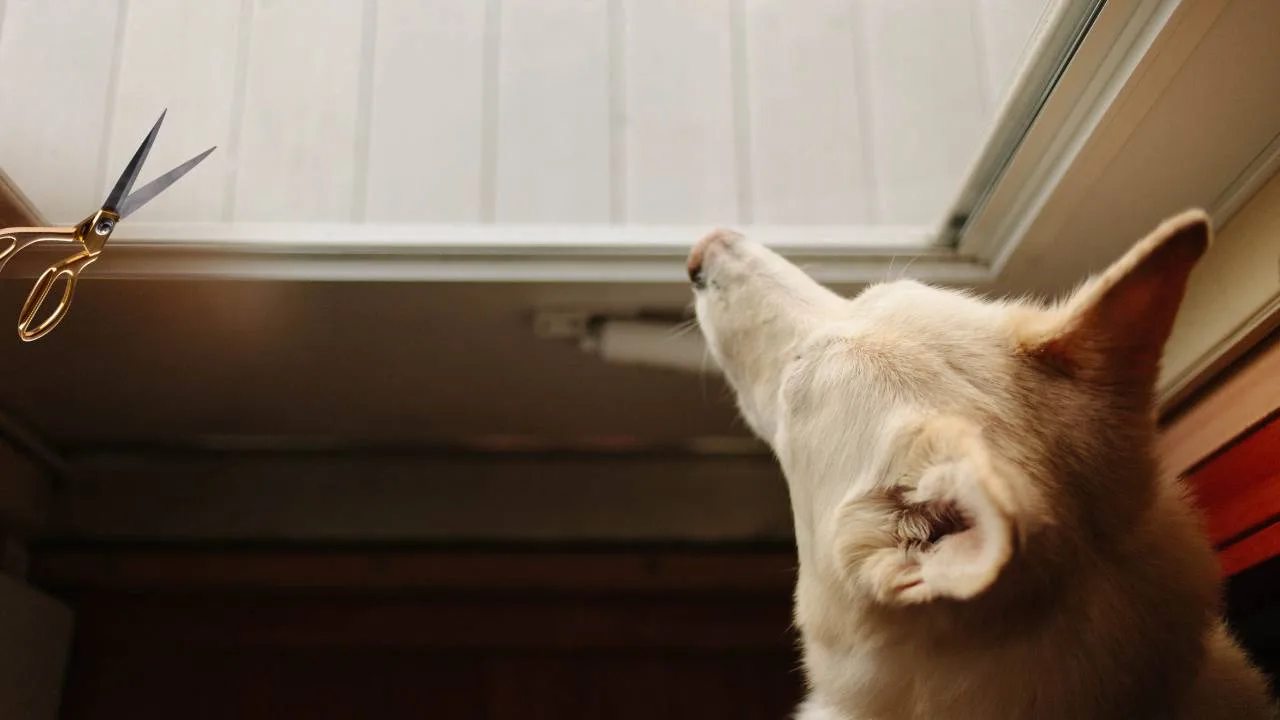
2. Cut the Entrance
Mark a 10-12 inch (25-30 cm) square entrance on the side of both containers for your dog house. Use a utility knife to carefully cut out the entrance hole on both the larger and smaller dog house containers. Ensure the hole is just wide enough for your dog to enter comfortably into the dog house. Face the entry away from the wind, or use a door flap or L-shaped entry to keep out the elements and maintain comfort inside the dog house.
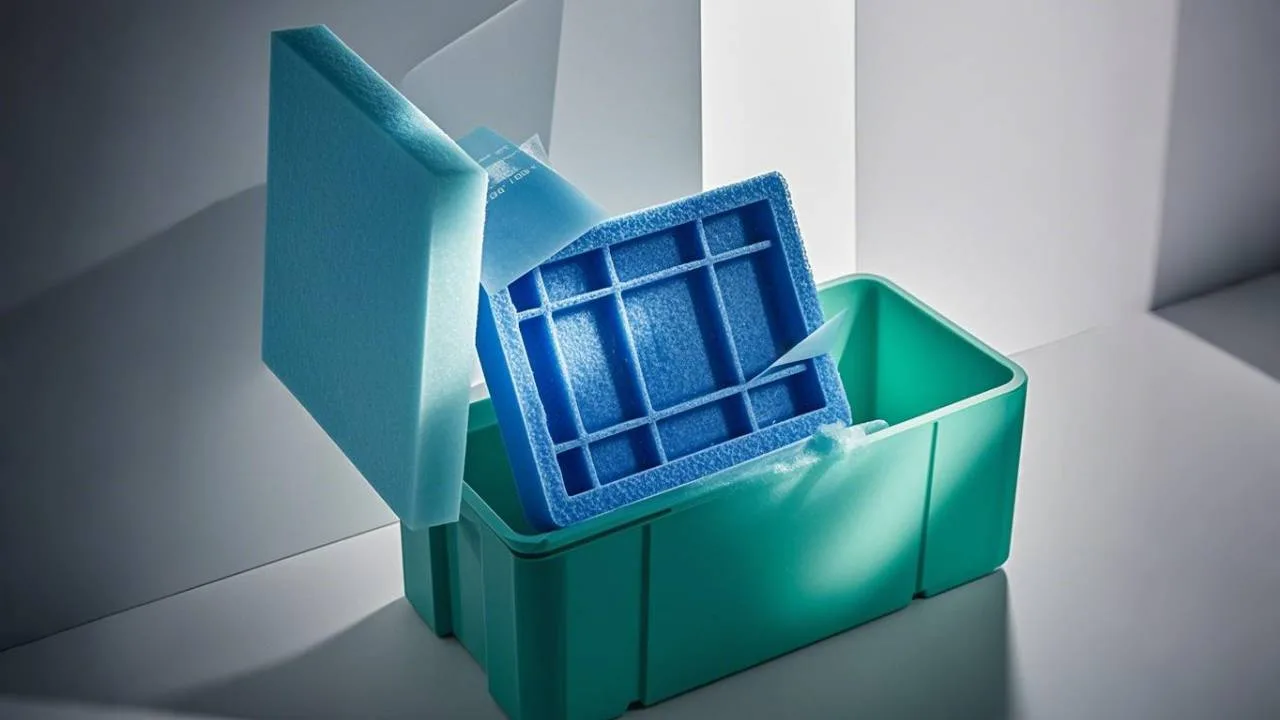
3. Install Styrofoam Insulation
Cut thin sheets of Styrofoam to fit the gaps between the two containers. Styrofoam is an excellent insulator, helping to trap warmth inside the dog house and keep it comfortable even in colder weather. After cutting the Styrofoam to size, slide it between the containers to create an insulating barrier.
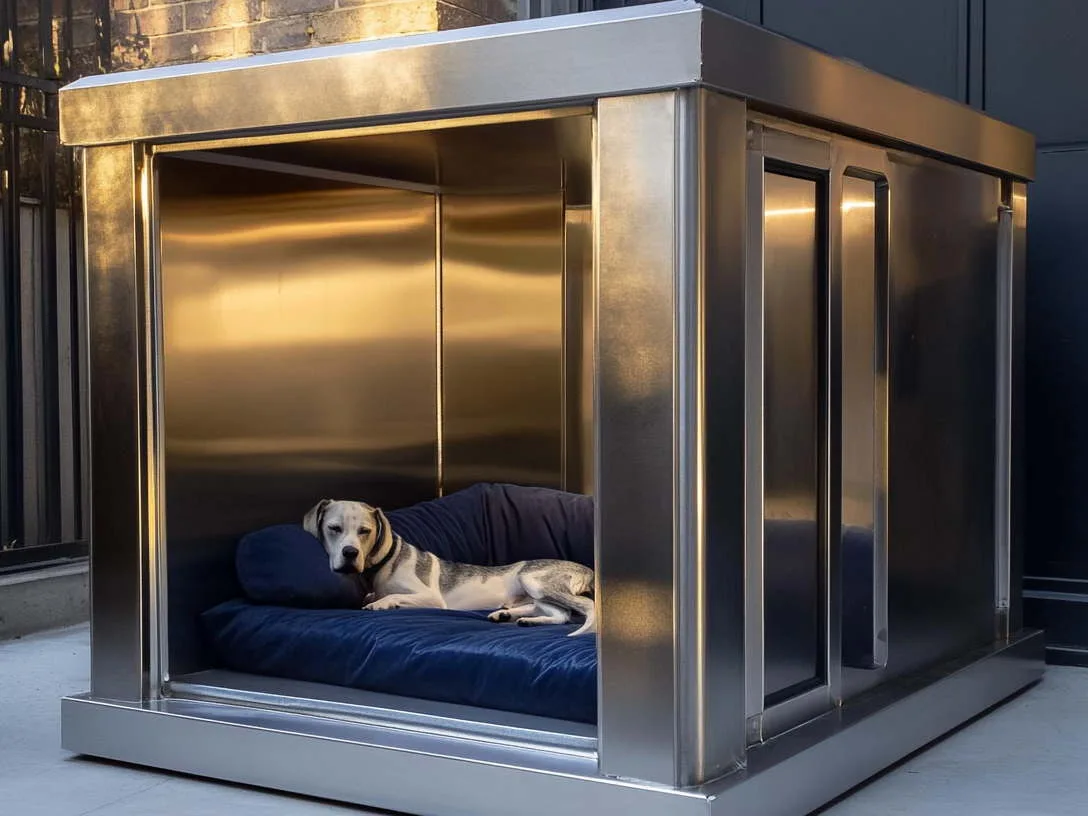
4. Add Aluminum Alloy for Extra Insulation
To further enhance thermal efficiency, the interiors of the larger containers will be covered with aluminum alloy sheets. The dog house, crafted from high-quality aluminum alloy, offers strong durability, better insulation, constant indoor temperature, and reliable fire resistance, so it will help keep the dog house warm in the winter and cool in the summer.
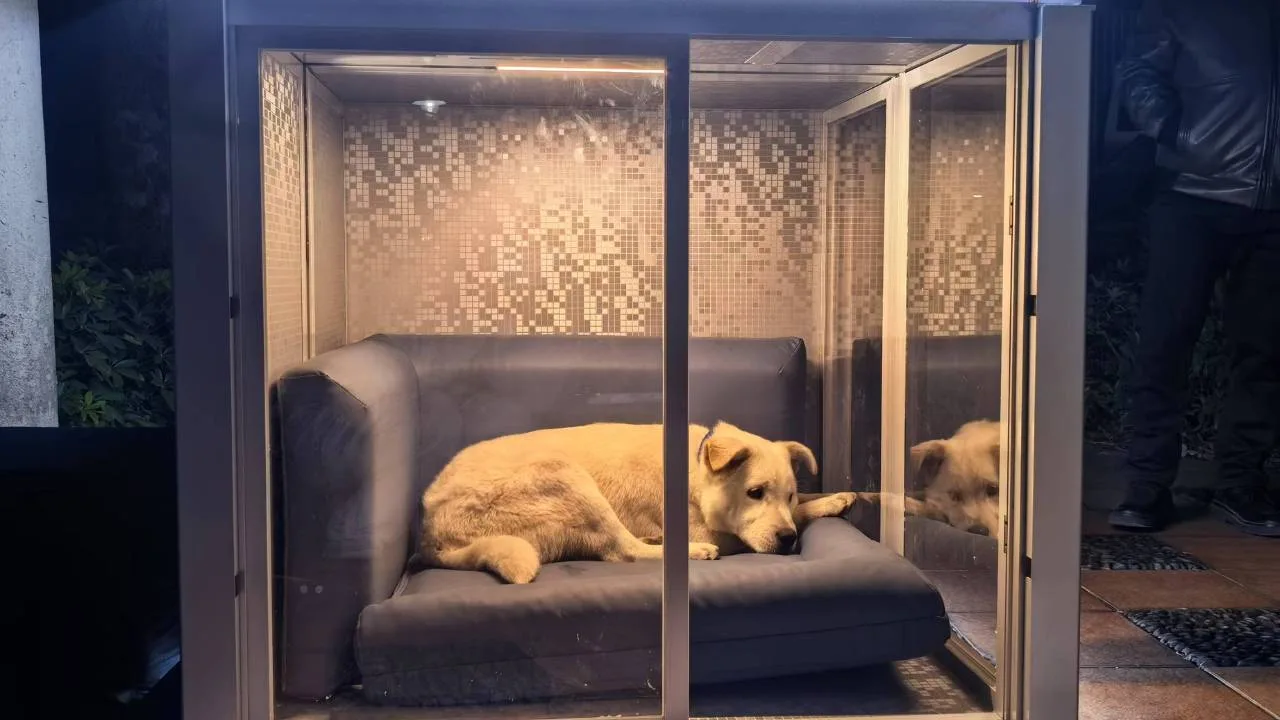
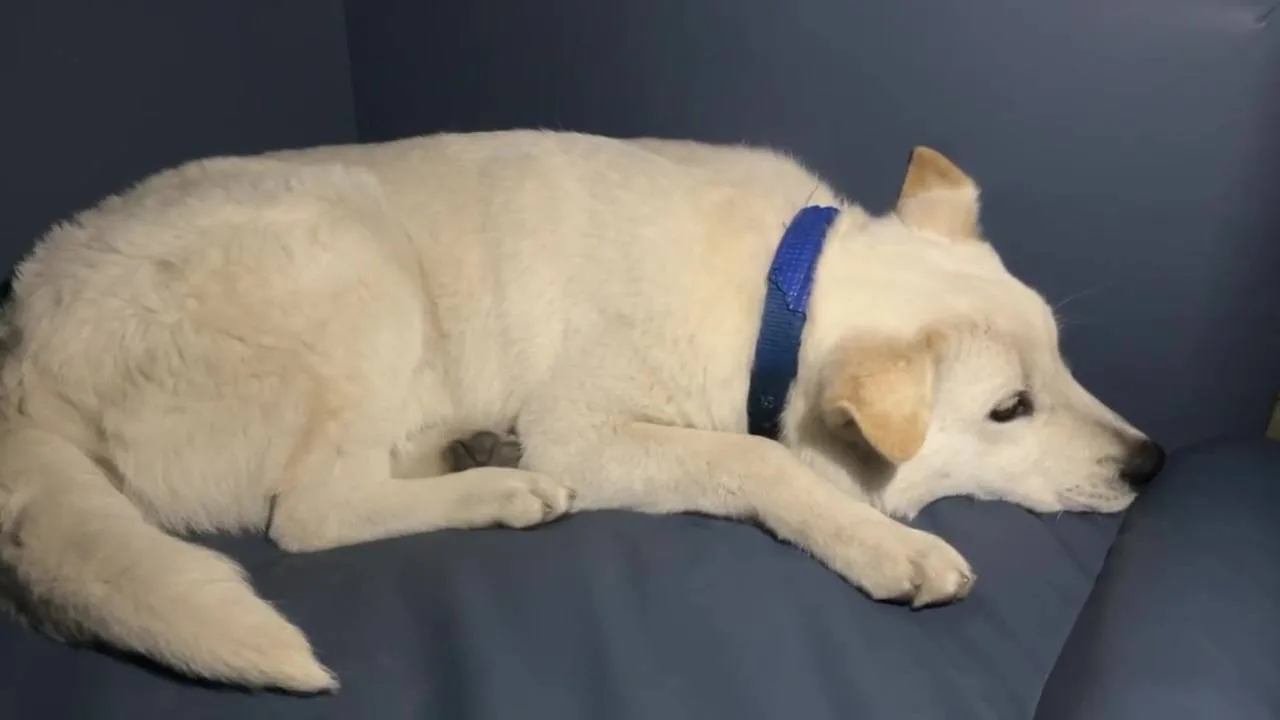
5. Add Comfort and Warmth
For optimal insulation, it’s recommended to layer both materials. Start with a base layer of straw to absorb moisture and create a thermal barrier, then add a layer of leather sofa on top to provide a soft, insulating surface. This combination will keep your dog warm and provide a comfortable lying surface.
6. Secure the lid and add protection
Finally, secure the lid of the larger container onto the dog house. If the lid is not waterproof, consider adding a plastic tarp or cover to ensure that rain or snow does not enter.
Making the House Welcoming for Dogs
Elevated Flooring
Elevate the floor by a few inches using sturdy wooden or plastic blocks, ensuring they are strong and stable enough to support the weight of your dog. This will also help with temperature regulation, keeping the floor warmer in cold weather and cooler in the summer.
Aromatherapy or Comforting Scents
Dogs have a highly sensitive sense of smell and find comfort in familiar scents. Adding a comforting scent or a familiar item can make the space feel more secure and homely.
Toys and Chews
Dogs especially when left alone, need stimulation to stay entertained and mentally engaged. Providing toys inside the smart dog house can reduce anxiety and boredom.
543
155
Cindy
Verified Buyer
5/20/24
Our two cats started using it right away and we all love it! No
more smells
and it is always clean and ready for the
next visit. Super quiet clean cycle and much less litter tracked onto the
floor.
Definitely a 5 star product!
Was this review helpful?
2
1
Cindy
Verified Buyer
5/20/24
Our two cats started using it right away and we all love it! No
more smells
and it is always clean and ready for the
next visit. Super quiet clean cycle and much less litter tracked onto the
floor.
Definitely a 5 star product!
Was this review helpful?
2
1
Cindy
Verified Buyer
5/20/24
Our two cats started using it right away and we all love it! No
more smells
and it is always clean and ready for the
next visit. Super quiet clean cycle and much less litter tracked onto the
floor.
Definitely a 5 star product!


 2
2
 1
1